Display-alternatives » History » Revision 4
« Previous |
Revision 4/5
(diff)
| Next »
jaap, 2012-08-14 13:09
Display-alternatives
do-it-yourself-electronics
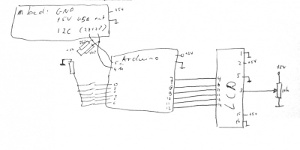
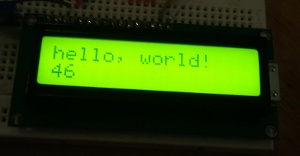
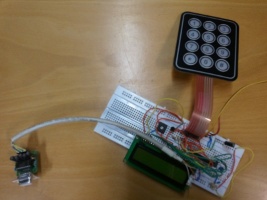
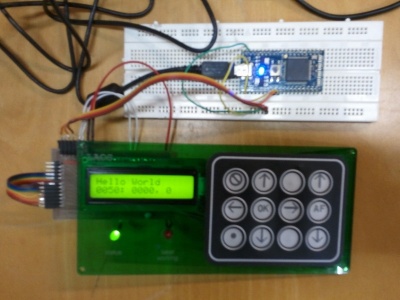
For now, this panel is only available as a DIY project and you'll have to order the parts yourself. However, printboards are available, contact us at info AT laoslaser.org.
Alternatives
Older version: 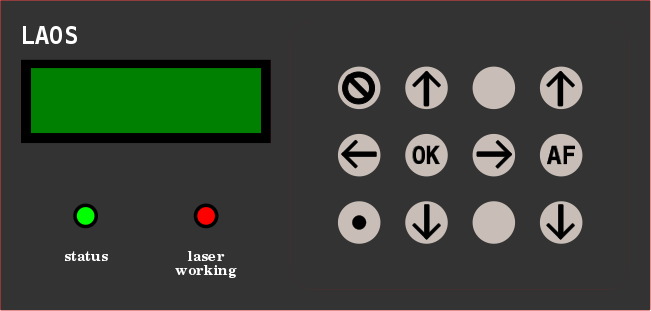
In some cases, manual control on the machine itself will not be the ideal solution. Therefore, we aim to make it possible to use RS232/USB or Ethernet communication to a PC to simulate the panel (for remote access, development or system without LCD)
ByVac
We thought about using this ready made controller PCB (serial+I2C) for LCD and keypad: [http://www.byvac.com/bv3/index.php?route=product/product&path=41_42&product_id=100 ByVac], just attach any row:column keypad and you are done. It can generate an interrupt by pulling an extra line low if there are key presses in its buffer. Combine with standard parallel LCD. We use this one with a standard 2x16 display, and a 9 keys keypad.
'''Note:''' this does work, but as with all (closed source) components that you buy: it does not completely do the job as we would have liked it. The keys generate 'events' when you press them, and you cannot detect if a key is still pressed. This is problematic! We always need to know if a key is pressed to control the motion. The closed source nature of this device does not allow us to simply change that one line of code in the embedded software, unfortunately. We need to do is ourself. And make it open source.
I2C controller by Robot-electronics
http://robot-electronics.co.uk/htm/Lcd03tech.htm
Nokia
The "standard" Nokia Color LCD:- [http://www.coolcomponents.co.uk/catalog/product_info.php?cPath=45&products_id=147 Nokia 6610] (20 GBP)
- [http://mbed.org/cookbook/Nokia-LCD MBED Cookbook page with software for Nokia display]
Crystal Fontz
Crystal Fontz i2c controller met 6 buttons, 2x16 char. display:
http://www.crystalfontz.com/product/CFA533TMIKC
LCD panels
(Farnell) Alternatives:- LCD Alphanumeric 8x2 [http://nl.farnell.com/everbouquet/mc0802a-sgr/lcd-module-alphanumeric-8x2/dp/1137380 1137380 EVERBOUQUET MC0802A-SGR] (8 Euro)
- LCD Alphanumeric 16x2 [http://nl.farnell.com/powertip/pc1602lru-hwb-h-q/lcd-module-16x2-led-b-l-x-tmp/dp/1671501 #1671501 POWERTIP PC1602LRU-HWB-H-Q LCD MODULE, 16X2, LED B/L, X-TMP] (8.58 Euro)
- LCD Alphanumeric 20x4 [http://nl.farnell.com/powertip/pc2004ars-awa-a-q/lcd-module-20x4-stn-reflect/dp/1671507 #1671507 POWERTIP PC2004ARS-AWA-A-Q LCD MODULE, 20X4, STN REFLECT] (11.52 Euro)
- LCD Graphic 128x64 [http://nl.farnell.com/powertip/pg12864lrf-nra-h-q/lcd-module-128x64-led-b-l/dp/1671491 #1671491 POWERTIP PG12864LRF-NRA-H-Q LCD MODULE, 128X64, LED B/L] (15.74 Euro)
- LCD Graphic 128x64 [http://nl.farnell.com/lascar/sp5-gfx1/lcd-module-128x64-graphic/dp/9932976 #9932976 LASCAR SP5 -GFX1 LCD MODULE, 128X64, GRAPHIC] (35 Euro)
- Keypad 3x4 [http://nl.farnell.com/multicomp/mcak304nbwb/keypad-3x4-array-plastic/dp/1182236 #1182236 MULTICOMP MCAK304NBWB KEYPAD, 3X4 ARRAY, PLASTIC] (6.43 Euro)
Panel production alternative
- one printboard for the micro-switches, processor and i2c bus connector
- the display is connected with a flatcable (because it's thicker, so it need to be lower)
- both printboard hang from the top plate with spacers
- on top plate is made out of [http://www.nautasign.com/materialen-webshop/rowmark/mattes-1245x610x16mm.html Rowmark 1.6]
- buttons: how to connect the smd microswitches to something that is easy to handle?
- use printed ABS buttons?
- foil layer to hold buttons in place?
Updated by jaap over 13 years ago · 4 revisions